ISTALLAZIONE ZABBIX - software di Gestione e Controllo macchine di rete con protocollo SNMP
Installation of Zabbix has a number of steps and Prerequisites that we need to fulfill first. Among the dependencies required are:
- Apache httpd web service
- PHP
- MySQL/ MariaDB database server
MySQL or MariaDB can be a remote server, but php and httpd need to be installed on the Zabbix server. Follow steps below to have Zabbix server installed and working on your Ubuntu 18.04 system.
Step 1: Install Apache httpd server
Update your system then install apache2 package using the apt-get command:
$ sudo apt-get update
$ sudo apt-get upgrade
$ sudo apt-get install apache2
After installing Apache, configure basic security by allowing Prod ServerTokens only.
$ sudo vim /etc/apache2/conf-enabled/security.conf
Change line 26
ServerTokens Prod
This directive configures what you return as the Server HTTP response. Valid options are Full | OS | Minimal | Minor | Major | Prod.
Set ServerName:
# grep ServerName /etc/apache2/apache2.conf
ServerName ubuntu18.04.computingforgeeks.com
Set Server Admin to receive email in case of issues.
# grep ServerAdmin /etc/apache2/apache2.conf
ServerAdmin adminuser@computingforgeeks.com
You need to restart apache web service after making these changes:
$ sudo systemctl restart apache2
Enable firewall service and add http|https
# ufw enable
# ufw allow http
Rule added
Rule added (v6

# ufw allow https
Rule added
Rule added (v6)
Step 2: Install php for Apache
Configure Apache2 to use PHP scripts by installing the following packages:
$ sudo apt-get -y install php php-pear php-cgi php-common libapache2-mod-php \
php-mbstring php-net-socket php-gd php-xml-util php-mysql php-gettext php-bcmath
This will install php v7.2 on Ubuntu 18.04, you can confirm using the command php -v
# php -v
PHP 7.2.5-0ubuntu0.18.04.1 (cli) (built: May 9 2018 17:21:02) ( NTS )
Copyright (c) 1997-2018 The PHP Group
Zend Engine v3.2.0, Copyright (c) 1998-2018 Zend Technologies
with Zend OPcache v7.2.5-0ubuntu0.18.04.1, Copyright (c) 1999-2018, by Zend Technologies
Configure Apache:
# a2enconf php7.2-cgi
Enabling conf php7.2-cgi.
To activate the new configuration, you need to run:
systemctl reload apache2
Ensure you set correct timezone:
# grep date.timezone /etc/php/7.2/apache2/php.ini
; http://php.net/date.timezone
date.timezone = "Africa/Nairobi"
Restart apache2 after this change:
$ sudo systemctl restart apache2
Step 3: Install MariaDB server
For the installation of MariaDB on Ubuntu, use my previous guide:
How to Install MariaDB 10.3 on Ubuntu 18.04 and CentOS 7
Once Database server installation is done, you need to create a database for Zabbix user:
$ mysql -u root -p
Welcome to the MariaDB monitor. Commands end with ; or \g.
Your MariaDB connection id is 56
Server version: 10.3.7-MariaDB-1:10.3.7+maria~bionic-log mariadb.org binary distribution
Copyright (c) 2000, 2018, Oracle, MariaDB Corporation Ab and others.
Type 'help;' or '\h' for help. Type '\c' to clear the current input statement.

MariaDB [(none)]> create database zabbix;
Query OK, 1 row affected (0.000 sec)
MariaDB [(none)]> grant all privileges on zabbix.* to zabbix@'localhost' identified by 'password';
Query OK, 0 rows affected (0.001 sec)
MariaDB [(none)]> flush privileges;
Query OK, 0 rows affected (0.001 sec)
MariaDB [(none)]> exit
Bye
Step 4: Install Zabbix Server
As of this writing, the latest version of Zabbix Server is 3.4 but the version available on Ubuntu repositories is 3.0. To install version 3.4, you need to add Zabbix repositories for this version:
$ wget http://repo.zabbix.com/zabbix/3.4/ubuntu/pool/main/z/zabbix-release/zabbix-release_3.4-1+bionic_all.deb
$ sudo dpkg -i zabbix-release_3.4-1+bionic_all.deb
Selecting previously unselected package zabbix-release.
(Reading database ... 108829 files and directories currently installed.)
Preparing to unpack zabbix-release_3.4-1+bionic_all.deb ...
Unpacking zabbix-release (3.4-1+bionic) ...
Setting up zabbix-release (3.4-1+bionic) ...
Do system update and install Zabbix server packages
$ sudo apt-get update
$ sudo apt-get install zabbix-agent zabbix-server-mysql php-mysql zabbix-frontend-php
This can also be used to upgrade Zabbix server. To check installed version, use:
$ apt-cache policy zabbix-server-mysql
zabbix-server-mysql:
Installed: 1:3.4.10-1+bionic
Candidate: 1:3.4.10-1+bionic
Version table:
*** 1:3.4.10-1+bionic 500
500 http://repo.zabbix.com/zabbix/3.4/ubuntu bionic/main amd64 Packages
100 /var/lib/dpkg/status
1:3.0.12+dfsg-1 500
500 http://mirrors.digitalocean.com/ubuntu bionic/universe amd64 Packages
Import database data using the command:
# zcat /usr/share/doc/zabbix-server-mysql/create.sql.gz | mysql -uzabbix -p zabbix
Enter password:
Optional: If you want to install the Zabbix server version available on the repositories (3.0), ( NOT RECOMMENDED), run:
$ sudo apt-get install zabbix-agent zabbix-server-mysql php-mysql zabbix-frontend-php
Then import Zabbix database schema:
# cd /usr/share/zabbix-server-mysql
# gunzip *.sql.gz
# mysql -u root -p zabbix < schema.sql
Enter password:
# mysql -u root -p zabbix < images.sql
Enter password:
# mysql -u root -p zabbix < data.sql
Enter password:
Step 5: Configure and start Zabbix server
Zabbix configuration file is located under /etc/zabbix/zabbix_server.conf. Ensure the following lines are configured correctly.
DBName=zabbix
DBUser=zabbix
DBPassword=password
Restart Zabbix server after modifying this file:
$ sudo systemctl restart zabbix-server
Set php always_populate_raw_post_data to off
# vim /usr/share/zabbix/include/classes/setup/CFrontendSetup.php
Look for the lines:
public function checkPhpAlwaysPopulateRawPostData() {
$current = ini_get('always_populate_raw_post_data');
Then add the line ‘$current = -1‘ after $current = ini_get(‘always_populate_raw_post_data’);. The final setting should look like below:
public function checkPhpAlwaysPopulateRawPostData() {
    $current = ini_get('always_populate_raw_post_data');
    $current = -1;
Edit /etc/php/7.2/apache2/php.ini to set php requirements for Zabbix server.
# vim /etc/php/7.2/apache2/php.ini
max_execution_time = 300
max_input_time = 300
post_max_size = 16M
Configure Zabbix agent to monitor Zabbix server itself.
# vim /etc/zabbix/zabbix_agentd.conf
Hostname=zabbix-server.computingforgeeks.com
Enable Zabbix frontend ( FOR Zabbix 3.0 only), skip for Zabbix server 3.4.
# chown -R www-data /etc/zabbix
# a2enconf zabbix-frontend-php
Enabling conf zabbix-frontend-php.
# systemctl reload apache2
Start and enable Zabbix Server:
# systemctl start zabbix-server
# systemctl enable zabbix-server
Synchronizing state of zabbix-server.service with SysV service script with /lib/systemd/systemd-sysv-install.
Executing: /lib/systemd/systemd-sysv-install enable zabbix-server
Step 5: Perform Zabbix initial setup
Access “http://(Zabbix server’s hostname or IP address)/zabbix/” to begin Zabbix initial setup.
Step 1 is a welcome page, click “Next step” to proceed.

Confirm that all pre-requisites are satisfied.

Configure DB settings as added before:

Confirm Hostname and Port number for Zabbix server. It is okay to use localhost in place of name.

Verify all settings and click Next step to finish the initial setup.

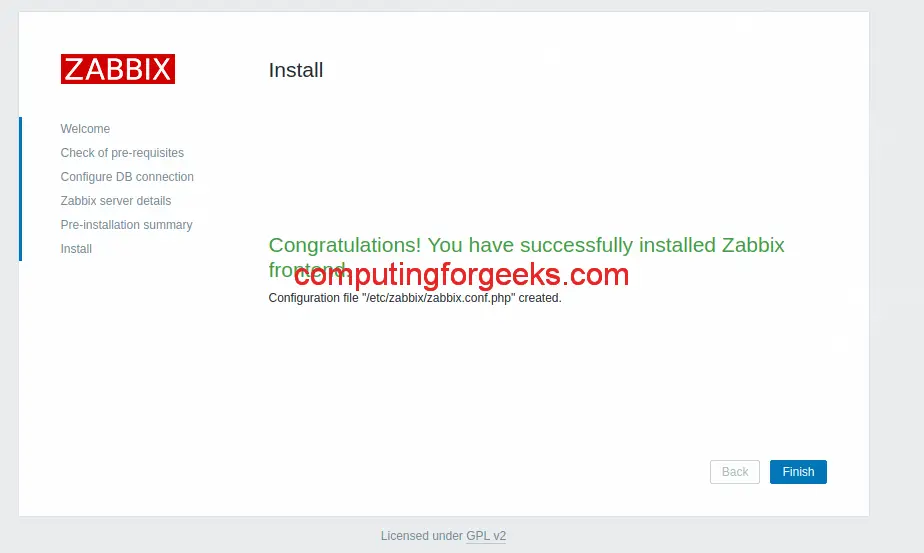
If all goes well, you should get congratulations page. Click the Finish button to end installation.
You’ll then get the login page. Default logins are:
Username: "admin"
Password: "zabbix"

Default dashboard page is as below:

Step 6: Change Admin Password
Login to Zabbix admin dashboard with admin user and password zabbix. You need to change the password for admin user after the first login for security reasons.
Navigate to Administration > Users > Admin > Password > Change Password

Enter the new password twice then click on the Update button to change.
Configure Monitoring Target host
Now that we have our Zabbix server ready for monitoring, let’s configure first monitoring target host – This is Zabbix server monitoring itself.
Login to Zabbix admin dashboard with the username admin and click on Configuration > Hosts. You should have seen that the host localhost status is set to “Disabled”.

Click on the disabled button to enabled Zabbix agent on this server to monitor the host. The “Status” is turned to “enabled” and the server is now being monitored.

After few minutes, monitoring data will start flowing in, to check host graphs go to Monitoring > Screens > Server name

In our next article, we’ll look at how to monitor Linux and Windows systems with Zabbix.
For Installation of Zabbix agent, look at How to Install and configure Zabbix agent on Ubuntu 18.04